Cloth Napkins
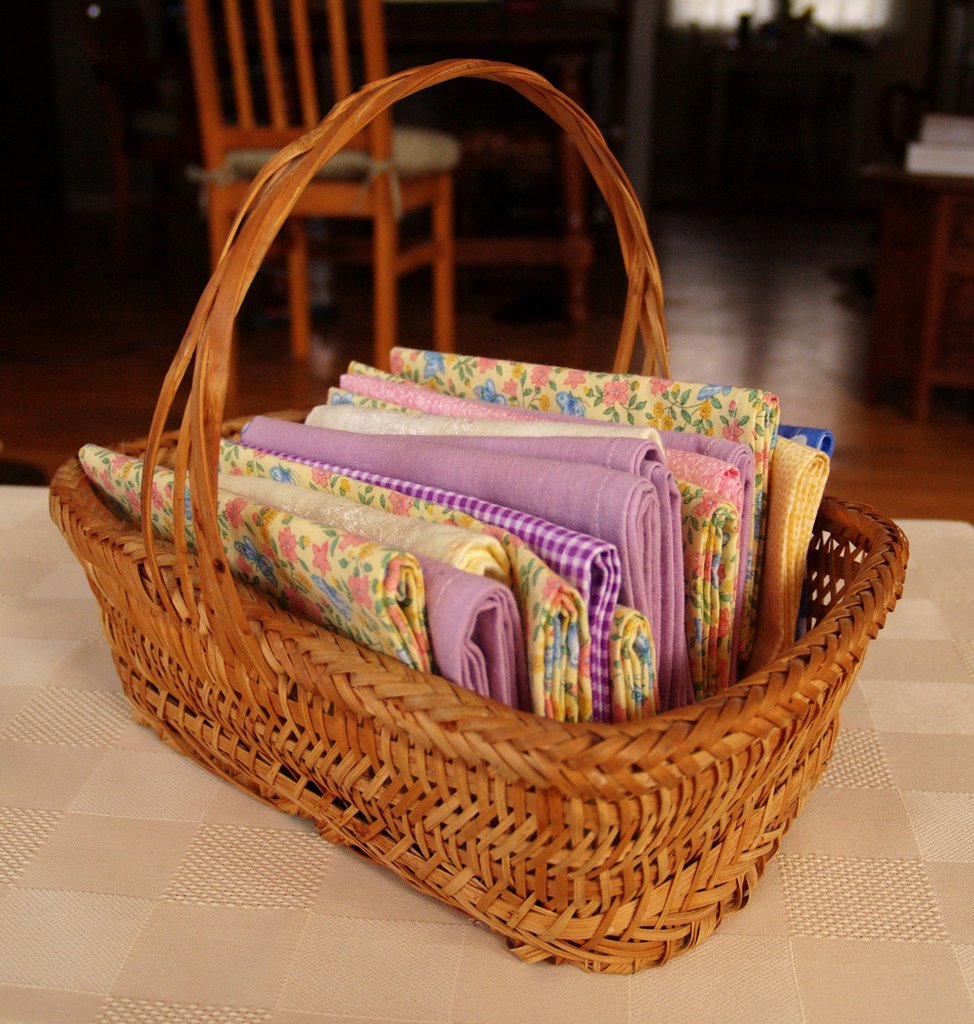
Perhaps you call them serviettes. Whatever you call them, I spent part of the afternoon making us a new assortment while listening to today's Dividing Line. Some of the fabric I used was given to me by a friend when she cleared out all her fabric scraps before she moved; some of the fabric was from an almost new curtain I picked up at the Salvation Army Thrift Store for twenty-five cents; and I also cheated--at least by my tightwad rules--and picked up 1/2 meter pieces of a couple cute springy prints in the bargain bin at the fabric store.
We always use cloth napkins. It's been 20 years since I've purchased any paper ones. Cloth napkins work better, cost less, are probably more environmentally friendly, and they look a whole lot prettier, to boot. The ones we were using were at least 10 years old and starting to look faded and warn, and besides, I've gone to a more retro pastel cottage look in the kitchen, so it was time for a fresh set of the right colored napkins.
You might be wondering if cloth napkins are worth the work. I certainly think so. After all, a set that I can stitch up in an hour or so will last for 10 years. It took longer to photograph them and compose this post than it took to make them! They do have to be washed, but that's hardly enough work to even notice. I just throw the dirty napkins in with other laundry--I figure 10 napkins are equivalent to one T-shirt weight-wise--and then quickly fold them as they come out of the dryer. In the summer I hang them on the line, and even then they need no ironing to look good.
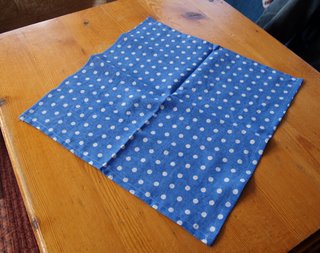 So how did I make them? First I ripped pieces of 100% cotton fabric into 15 1/2 inch squares. (All-cotton fabric is much better than a polyester/cotton blend. Polyester fibres are stain magnets, and nothing looks worse than dirty looking napkins.) Sixteen or 16 1/2 inches square might have been a better size, but that extra inch would have meant I could only get two napkins crosswise instead of three, and for a tightwad, that's too much of a sacrifice to make.
Next I turned the edges under 1/4 inch and then 1/4 inch again and hemmed. I hemmed a first side and then the side directly opposite before moving on to the edges perpendicular to it. Hemming in this order gives a nice little square stitching detail on the corners. Each napkin took only a few minutes from start to finish.
When I'd hemmed them all, I gave them a quick once-over with an iron so the hems would lie flat. Then I folded them up, collected them together, and insisted that everyone in the family admire them, especially if they wanted supper.
Tags: sewing, sewing project, dinner napkins
posted by Rebecca Stark at 4/11/2006 05:18:00 PM
![]()
![]()


<< Home